I’ve haven’t been active on my blog recently but I have a good excuse : I just got married.
This article is about the two different items that I crafted my self in wood.
The box for the rings
The idea was pretty close to what I’ve done for the proposal. I used the same material : oak and also the same technique. The dimensions are different and I had to make room for the locks on the side.
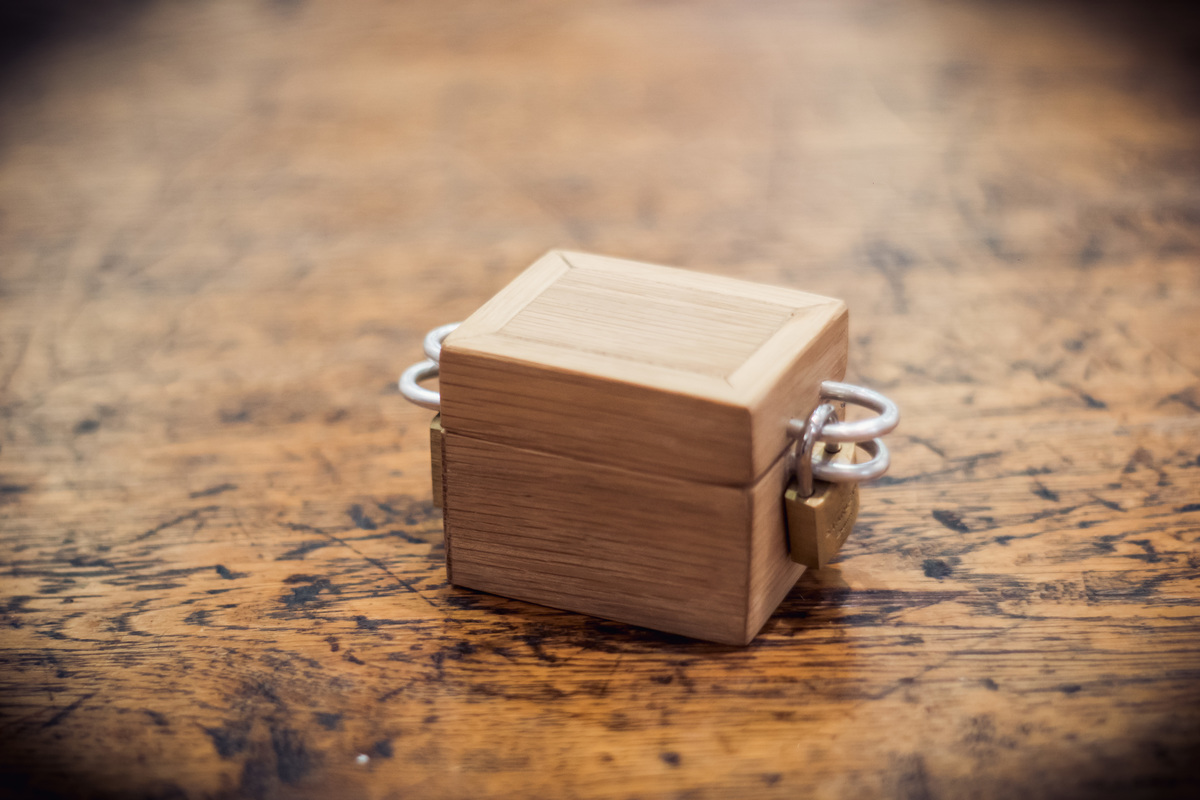
The box closed with the locks in place
The idea behind the locks is that both of us were accepting to get married, as you need two keys to open it.
The keychains were made by an embroidery in Toulouse (I tried to look on Internet but you usually need have to buy 100 of them or plus …). Instead of the classical Remove before flight it says remove before KISS. And there is the date of the wedding on the other side.
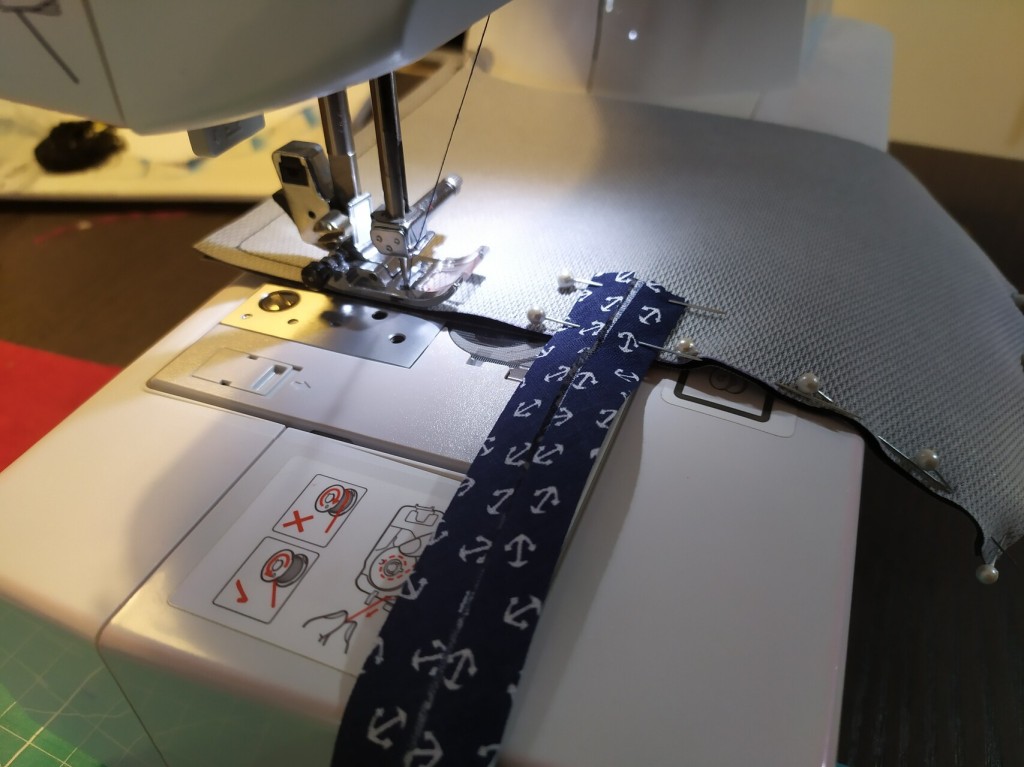
The inside was made with leftovers from an other project. The tissue is made of felt and I used a sewing machine to make it nice and clean. The inside is stuffed with polymer fiber (the same you use to put in stuffed animals for instance).
I’m pretty happy with the result. The only detail that I didn’t like is that the lid is not straight enough when opened. But otherwise I feel like I improved since my last creation made of wood. It is also a good souvenir that we will keep with us.

The box opened during the ceremony
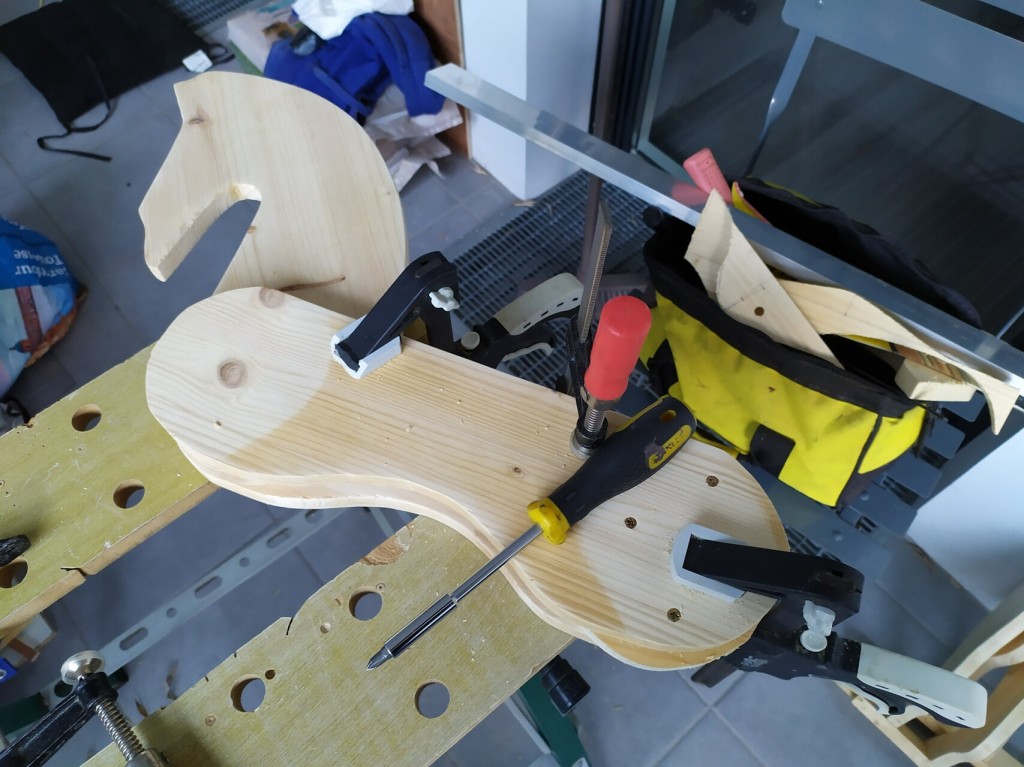
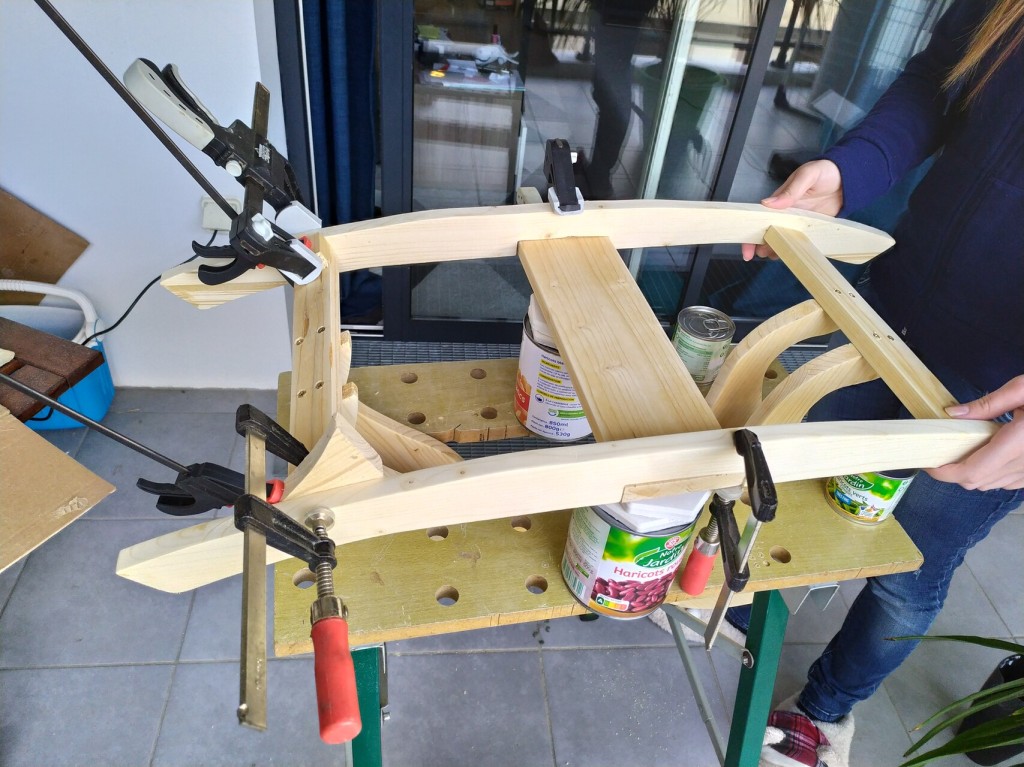
The donation box
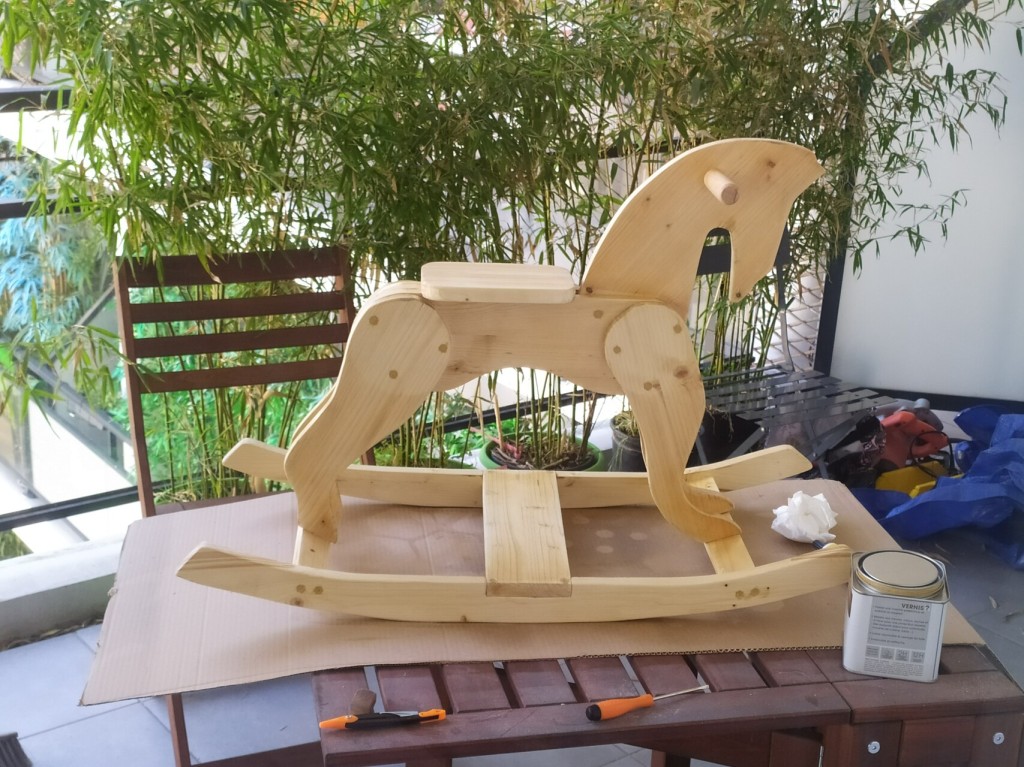
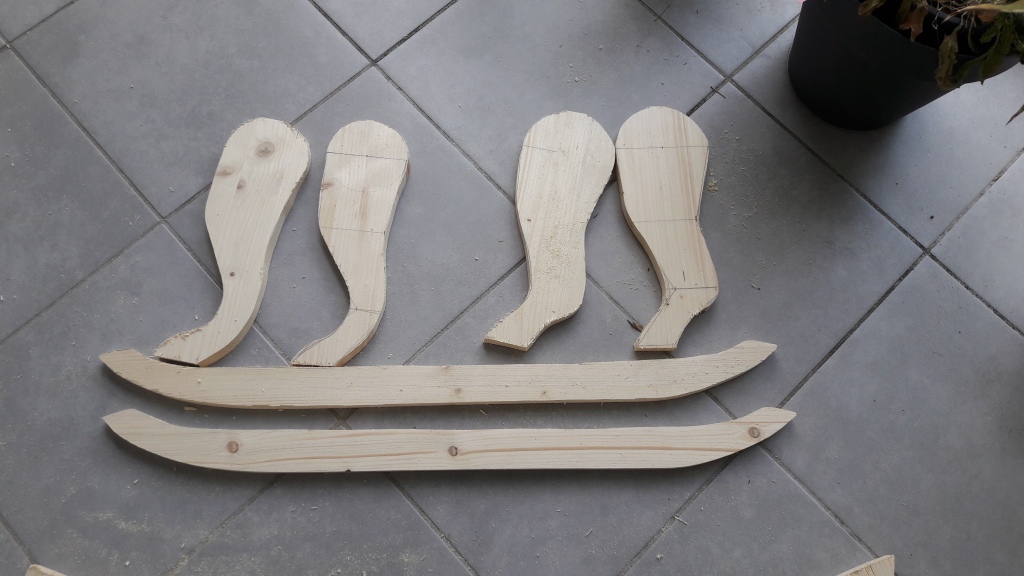
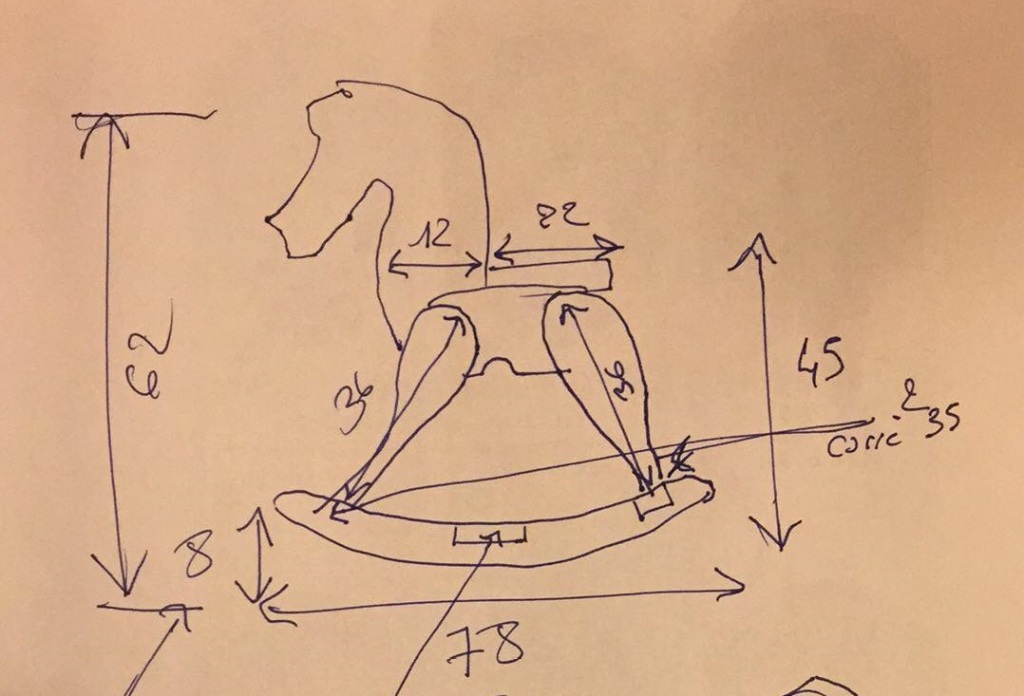
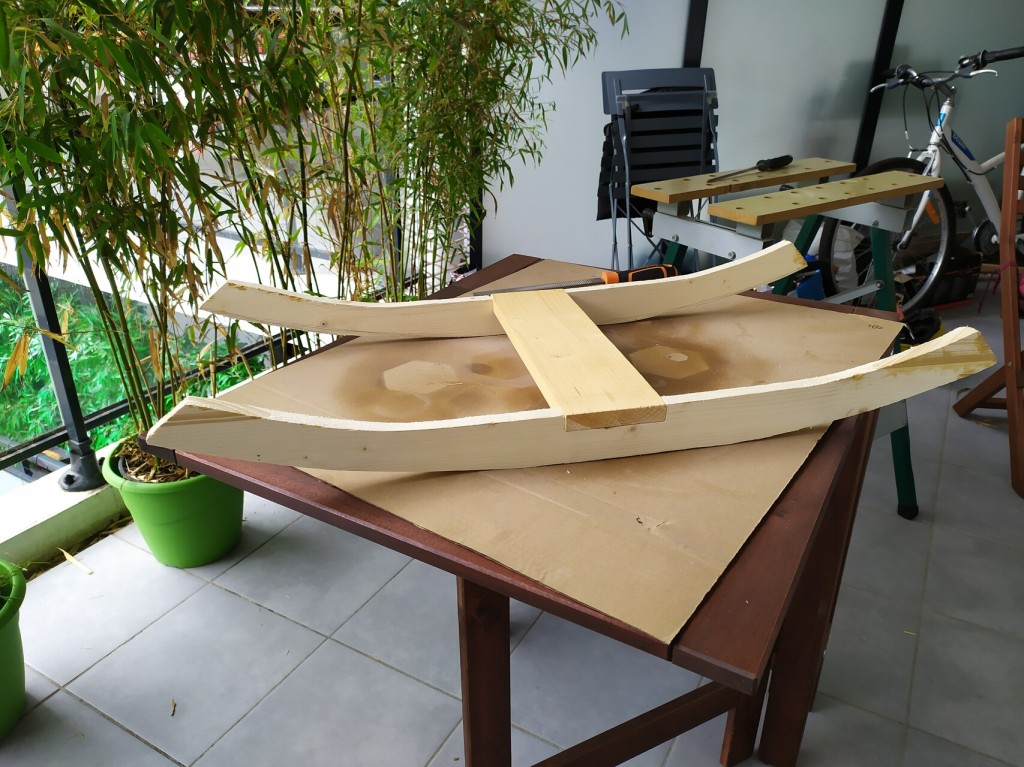
The other project that I made in wood was the box used for donation. It was to help us to pay our honeymoon so I made it in the shape of an aircraft. The wood is pine.
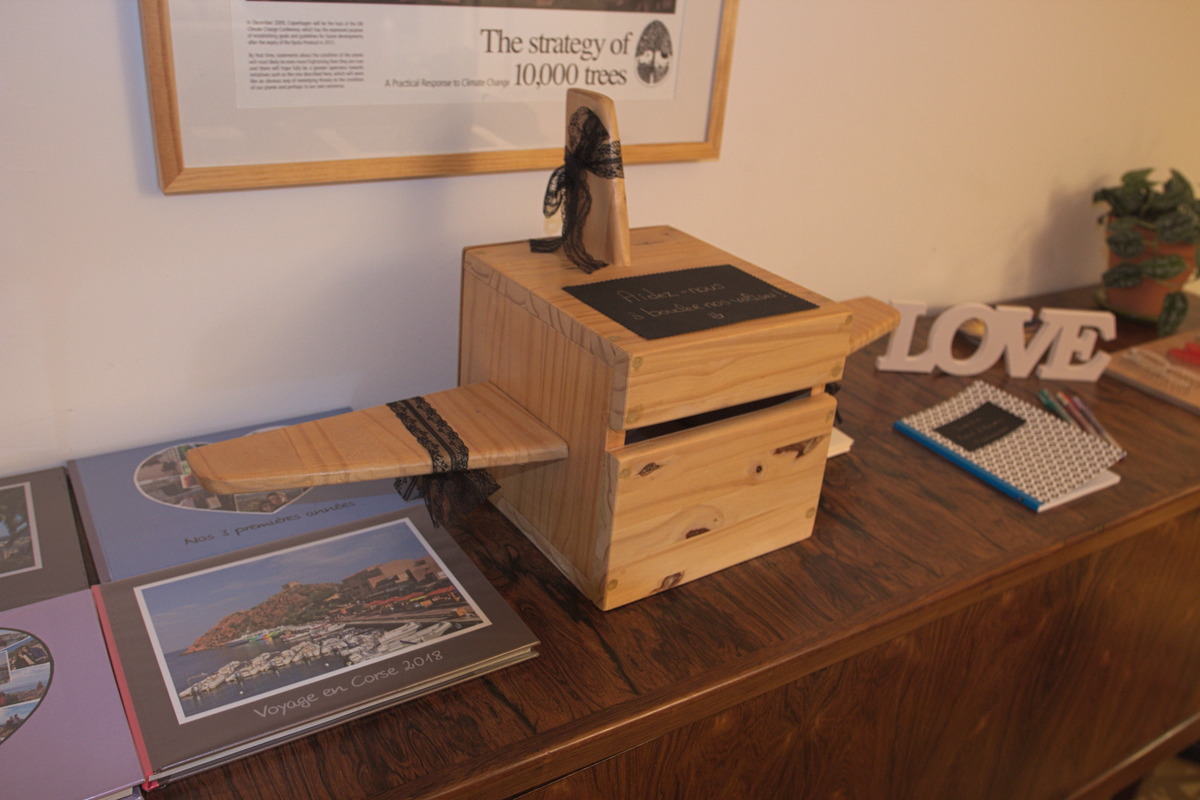
The back of the box was closed with plywood and nails and I had to tear out once the wedding was over.
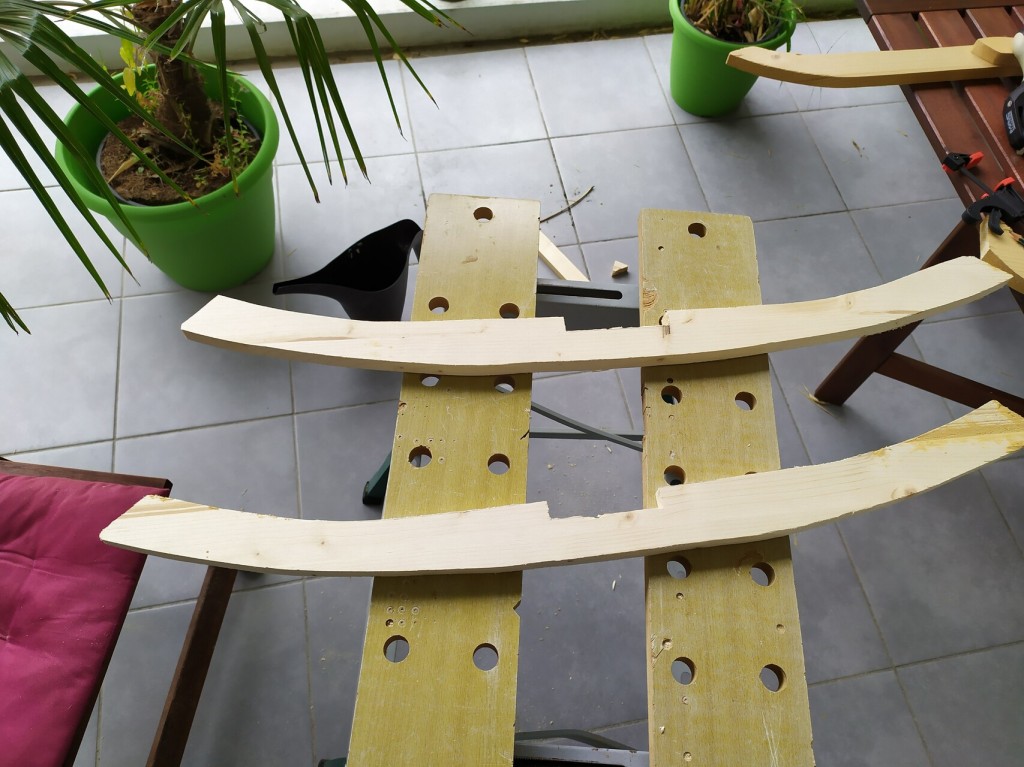
It was the first time that I used a plane (the tool not the airplane) to have a better finish. I used woodpaste to hide the screws even if you can still see it.
So that’s it ! I hope you liked and I also hope that one day this will give some inspiration to someone else.